


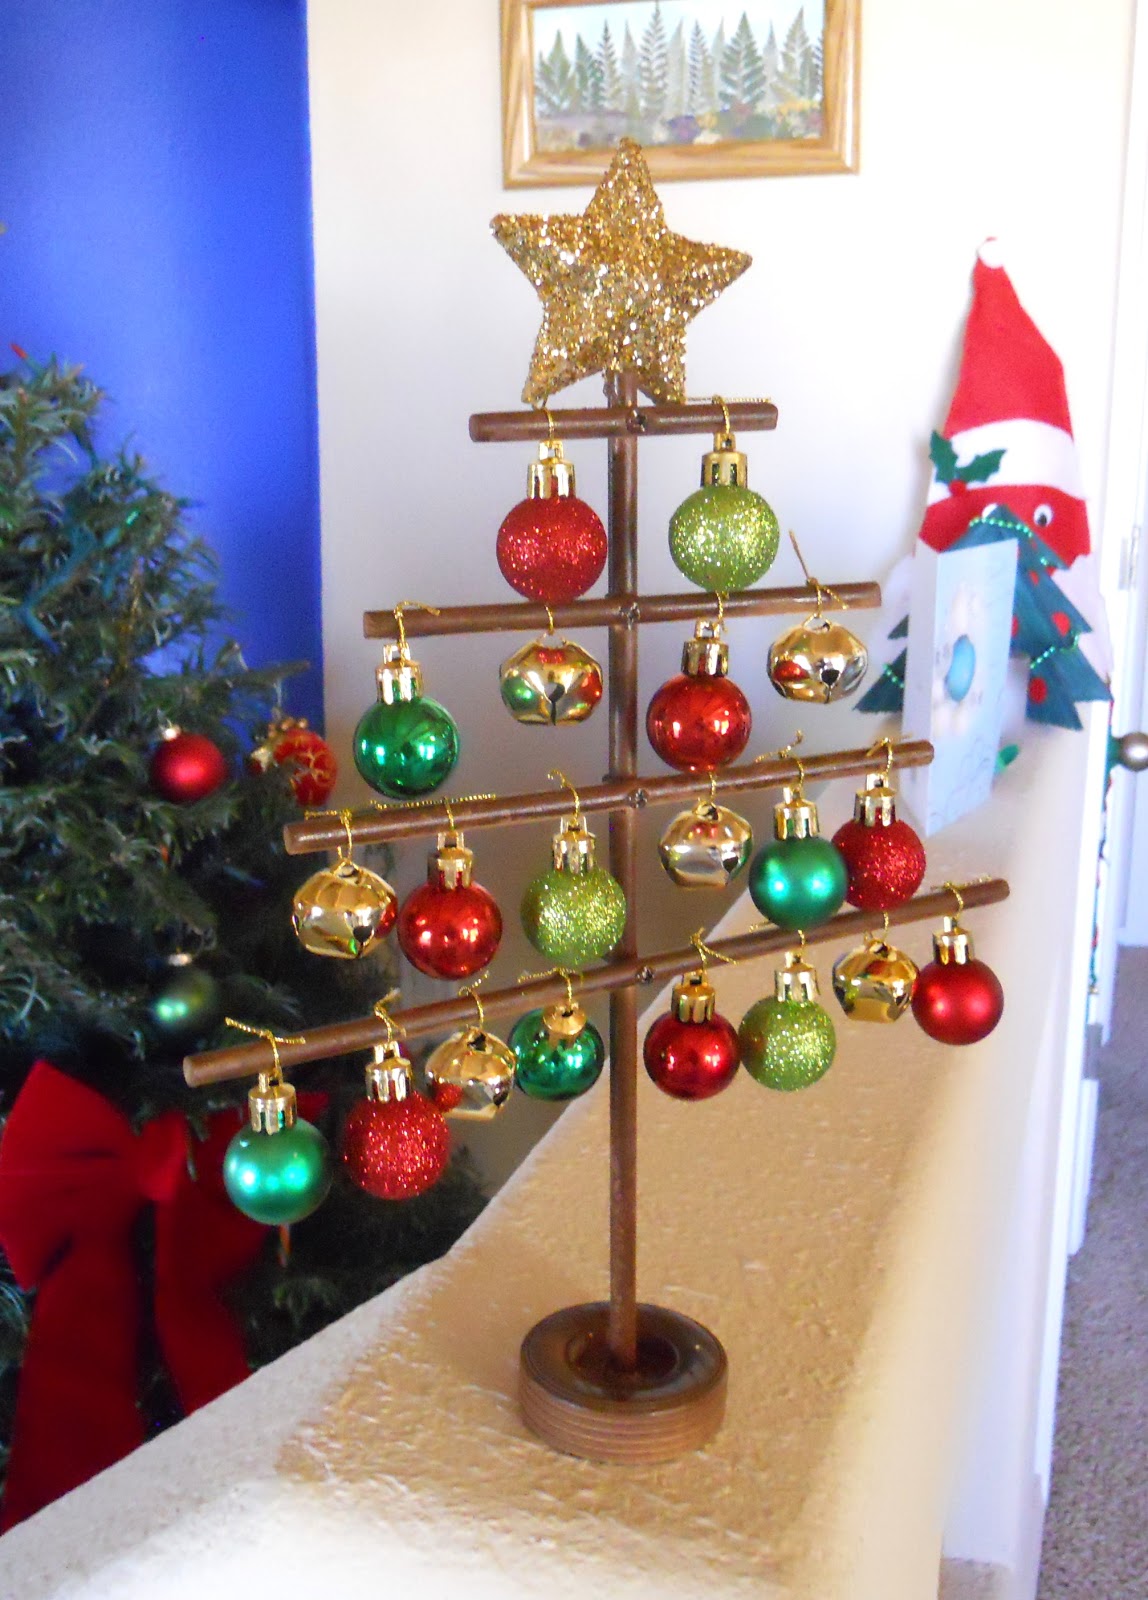
About a month ago I
was out shopping and saw something similar to this tree at a store (can’t remember
which now). It looked super cute, but
the design was so simple I knew I could make one myself, and for less than the
$40 it cost. I think mine turned out
great!
Want to make your
own? Of course you do! Here’s what you’ll need:

5
wooden dowels: Mine are about a ¼” thick and 12” long. I got these at Hobby Lobby.
Base:
I used a thing called a tread wheel.
Make sure the hole size matches your dowels. I also got this at Hobby Lobby.
Star
and ornaments: For the star I got a paper mache star at
JoAnn’s and covered it in gold glitter.
I also got the mini ornaments and bells at JoAnn’s.
Drill
and screws: Make sure to get screws that aren’t too long
so they don’t poke out too much behind your tree. Also make sure your screws match your drill
bit size.
Let’s get started!

First, lay out how you
want your ornaments arranged so that you know where to cut your dowels. I wanted four rows, so I did 8 bulbs on the
bottom, then 6, 4, and 2 at the top. If
you want to make a larger one, just more rows to the bottom. Here’s my final measurements:

While my bulbs were laid
out I also measured how much room I needed between each row, which was 2”
between each row.
After marking my measurements
I cut each dowel to the right size. These
are small enough that I was able to use a wire cutter thing to snip them off.

Sand down the edges of
all the dowels. Now draw a mark on each
dowel right at the center. Also draw a
mark on the long dowel where you want each row to go (again, mine were 2”
apart). Get your drill and drill a hole
through each mark.
This part can be a
little tricky to get all the holes on the long dowel exactly lined up. Mine isn’t perfect, but when it’s all
finished with the bulbs on it really isn’t that noticeable, so don’t stress
about getting the holes perfectly lined up.
(As an alternative
here, my first try at making this I nailed the dowels together, but that ended
up just cracking the wood. But, if you
don’t have a drill, nailing could be a good option if you don’t mind the
cracked wood. Or you could try gluing
the dowels with a strong glue.)
Okay, now it’s time to
screw it all together. I found it easier
to screw the dowels on by clamping down the long dowel to a table.

I also put a small dab
of my trusty Gorilla Glue in between the dowels just for a little extra stay-put
power. Screw in all your dowels:

And glue the whole
thing into your base. I used the clamp
to help keep it straight.

You can see in that
pic how my rows aren’t perfectly straight, so again, don’t stress about getting
it perfect. It’ll still look good! While that’s drying you can take this time to
glitter up your star.
After the glue has
dried, paint the whole thing. I used
brown spray paint, but acrylic craft paint would work too. Once that is dry you’re ready to start adding
the bling!

I used the gold thread
that came with the bells to tie on each bulb.
You could also use ornament hooks or whatever you have on hand. I also dabbed a bit of glue on each of the
end bulbs so I wouldn’t worry about them slipping off. Lastly I glued on my glittered star:

And finished! I love it!
I think I might make
another one and paint the tree silver with silver and blue bulbs. Or paint it pink with pink and turquoise bulbs! Oh the possibilities!
I hope you give this a
try!
No comments:
Post a Comment